

These were supposed to look a lot scarier than they turned out, because we are making them as Halloween treats for Cameron's class. Instead, they turned out looking all cute and slightly dopey. A bit like a six year old.
These are a fun make, but it's probably best to keep the kids on the other side of the kitchen bench while making them, because as you probably well know, making sweets can be DANGEROUS work, and you certainly don't want to injure yourself or anyone else in the name of fun. And the lolly sets quite quickly, so you need to jam that face on really fast. The kids can make the lollipop moulds and help you wrap them up once they're set.
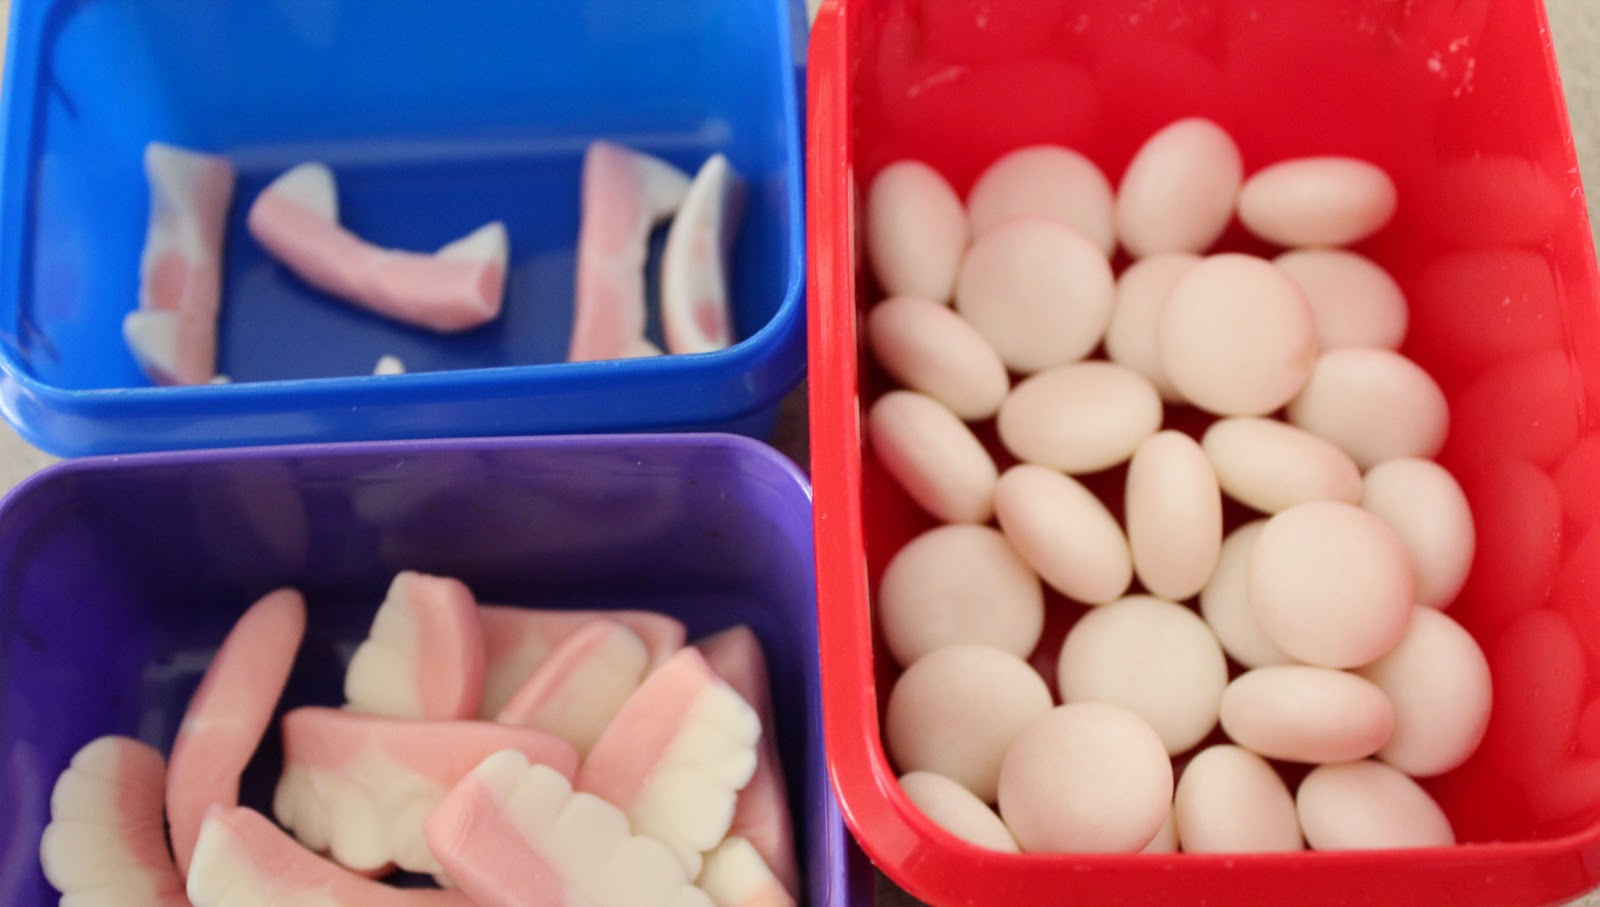
Work out what sweets you'd like to use and get them ready, by putting them in some small dishes or containers. You won't have time to fumble about opening up and rummaging through packets. I've used Mentos for the eyeballs and some el cheapo tooth sweets. I cut some of the teeth into fangs with kitchen scissors. The black circles on the eyes were drawn on with a gourmet food writer once the sugar had set. If you don't have a food writer, you could use black decorators' gel, or stick on a chocolate chip with a small dab of icing.
The great thing about these is that you don't even need a special mould or anything. Just....
Standard sized foil or greaseproof cupcake liners
Lollipop sticks (mine are 4 1/2 inches long)
To make the moulds, take a cupcake liner, and with a needle, make a small hole near the base. Then, poke a pointy toothpick or bamboo skewer through the pin hole carefully to make a larger hole. Give it a bit of a wiggle to widen the hole to the same width of the lollipop stick. Then slot the stick in, making sure the stick inside the liner is centred. Place these on a flat tray lined some baking paper. For the recipe I use, make about fifteen of these (although you may only use twelve). Spray with cooking oil.


Now, I use this recipe. It works a treat, so long as you follow it to the letter. Don't be a dill like me, and forget to return it to a slow boil, and then wander off and fold washing. Or you may have a favourite toffee recipe, or prefer to use another one you've found. And you don't need a sugar thermometer as shown here. This one is, in the immortal words of Neil Young, a piece of crap. The cold water crack test is a much better indicator.

Once your sugar is ready, get yourself a spoon, carry your saucepan of sugar over to your moulds and quickly spoon the sugar into the moulds. If you moved your lollipop stick off centre while spooning the sugar, quickly move it back into position with your spoon and carry on. Do your best to make sure the stick is covered with the mixture. (Note: With this recipe I made 15 lollipops, but some of the sticks could have been covered up a bit more, so you may not use all your moulds. It's best to have them ready though, just in case!)
Again, moving quickly, place your sweets on to make a face. This stuff sets really quick - toward the end of making my faces, I was just about hammering my lollies on with the blunt end of my wooden spoon. Speed is of the essence!

Once your faces are made, take a deep breath and reeeeee-lax. Pop your lollipops in the fridge to harden up. It won't take long at all. Detail the eye as mentioned earlier...

...peel off the liner...


...and then you can wrap 'em up. (Tip: I found cellophane to be not a very good option, not the stuff I used anyway. When you unwrap them, a lot of cellophane stays on the lollipop, thus making it more a choking hazard than an enjoyable snack. You know what a good alternative is? Those bags you roast chicken in. Those are made for grease, so are greaseproof-ish! Cut them up, wrap up your lollipops and tie them up with some ribbon).
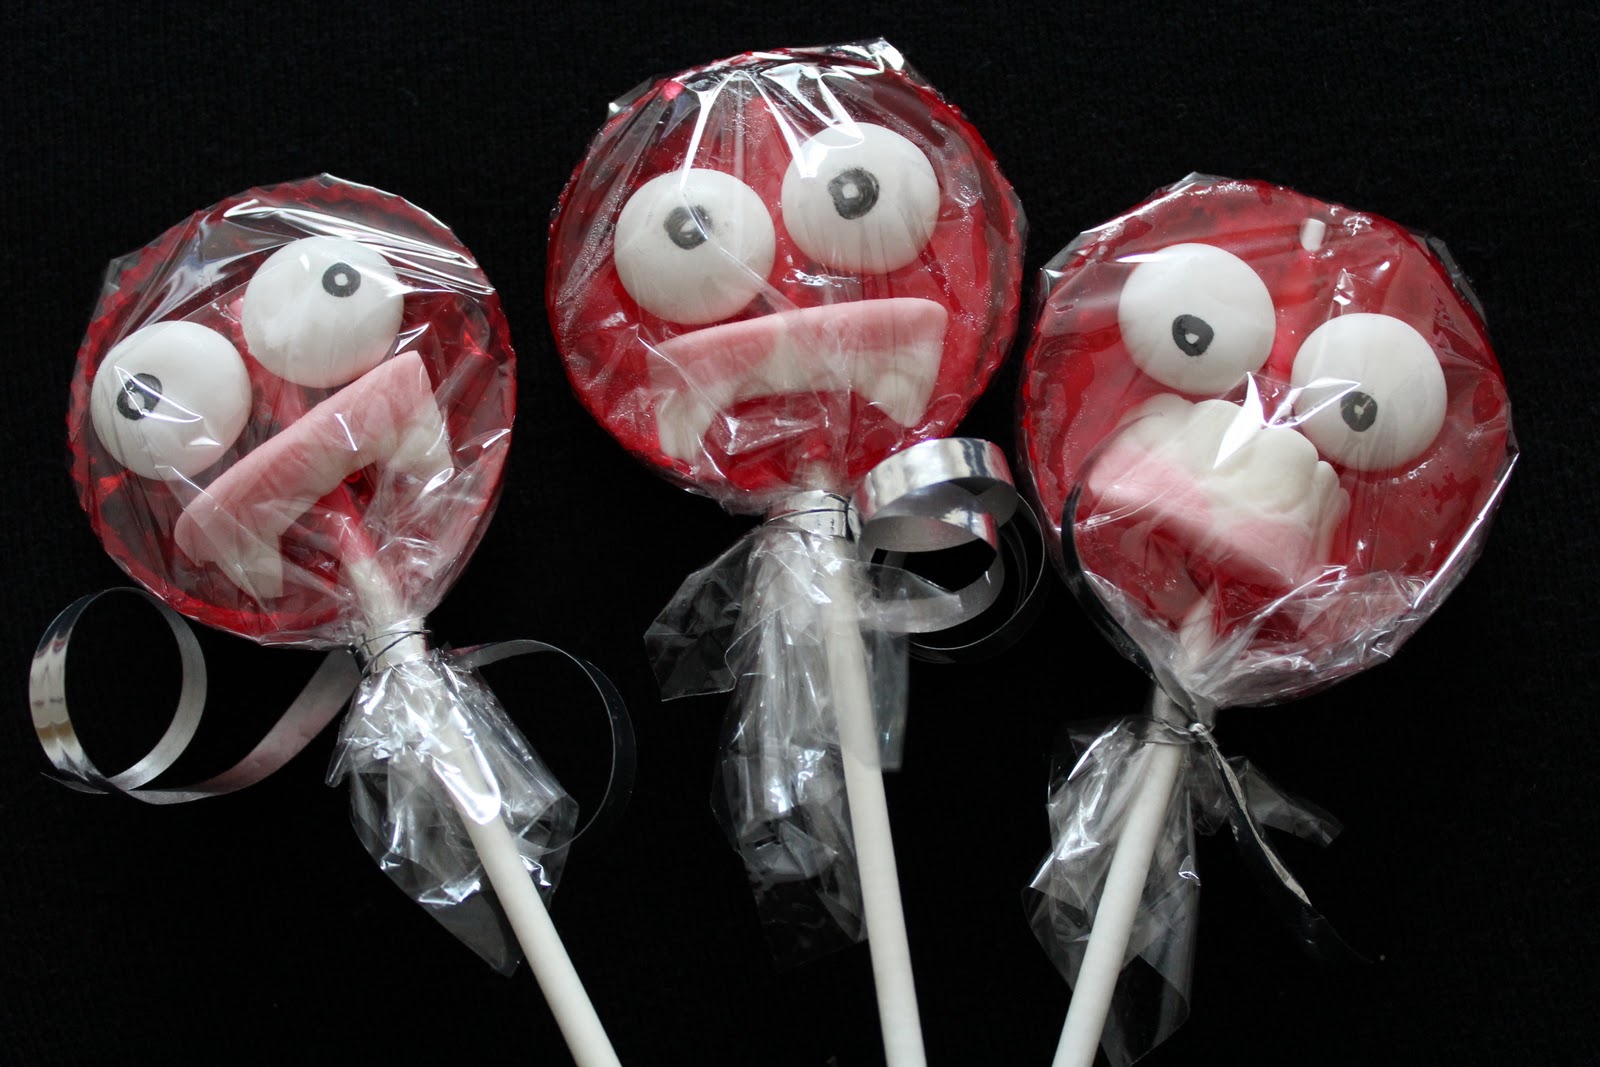

Yum!
